

shell crete flooring is a popular choice for homeowners looking to add a touch of elegance and durability to their homes. This unique type of flooring is made from a blend of natural shells, aggregates, and other materials that create a stunning surface that is both beautiful and practical. Installing Shell Crete flooring in your home can be a relatively straightforward process if you follow the right steps. In this article, we will provide you with a step-by-step guide to installing Shell Crete flooring in your home.
Step 1: Prepare the Subfloor
Before you can begin installing your Shell Crete flooring, you need to ensure that the subfloor is clean, dry, and level. Remove any existing flooring materials and thoroughly clean the surface. Patch any holes or cracks with a suitable filler and allow it to dry completely.
Step 2: Apply a Primer
Once the subfloor is prepared, apply a primer to ensure proper adhesion of the Shell Crete flooring. Allow the primer to dry according to the manufacturer’s instructions before proceeding to the next step.
Step 3: Mix the Shell Crete Material
Carefully mix the Shell Crete material according to the manufacturer’s instructions. Make sure to blend the aggregates and shells thoroughly to ensure a consistent finish.
Step 4: Spread the Shell Crete Material
Using a trowel, spread the Shell Crete material evenly over the primed subfloor. Work in small sections to ensure an even application. Use a screed or straight edge to level the material and remove any excess.
Step 5: Add Texture
To add texture to your Shell Crete flooring, gently press a texture roller or stamp into the surface. This will create a unique pattern and enhance the overall appearance of the flooring.
Step 6: Allow to Cure
Allow the Shell Crete flooring to cure for the recommended amount of time. Avoid walking on the surface or placing heavy objects on it until it has fully cured.
Step 7: Apply a Sealer
Once the Shell Crete flooring has cured, apply a sealer to protect the surface and enhance its durability. Follow the manufacturer’s instructions for proper application and drying times.
By following these simple steps, you can easily install Shell Crete flooring in your home and enjoy its beauty and durability for years to come. Whether you choose to install Shell Crete flooring in your kitchen, bathroom, or living room, you can rest assured that you are adding a touch of elegance and sophistication to your home. So why wait? Start your Shell Crete flooring installation today and transform your space into a stunning masterpiece.
——————-
Article posted by: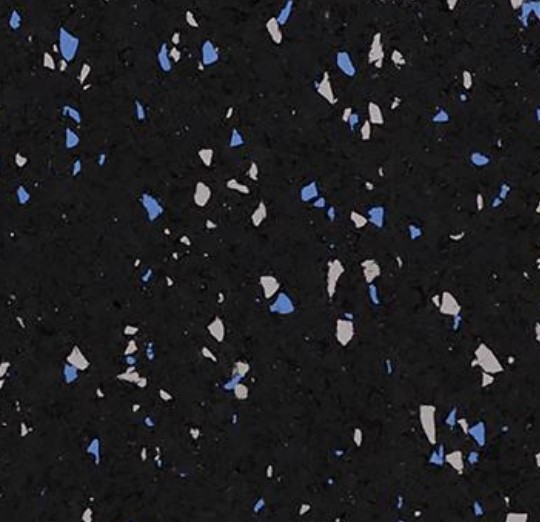
Kjz floor solutions
http://www.kjzfloorsolutions.com/
9412646864
Bradenton, United States
rubber gym flooring in sarasota fl is promoted by kjz floor solutions!